Open new document -A4 size. Choose gradient tool and fill the background with chosen colour.
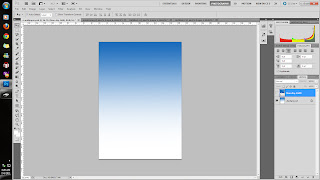
Drag blue sky into a new layer. Change the layer style to overlay and erase the bottom part of the picture and you will have the below picture.
Drag the graduation picture into a new layer. Adjust the picture using the transform tool.
After the adjustments, you will see the below picture.
Drag the MMU e-bee into a new layer and adjust the size accordingly and double-click for blending options and click on drop shadow.
After the adjustments, you will get the below picture.
Drag in MMU logo into a new layer. Adjust the size accordingly and place it at top left. Double-click for blending options and click on Inner Shadow. It will look like the below picture.
Lastly, choose the text tool and type in the details.Change the font type and place the text accordingly.
Below will be my final image.


